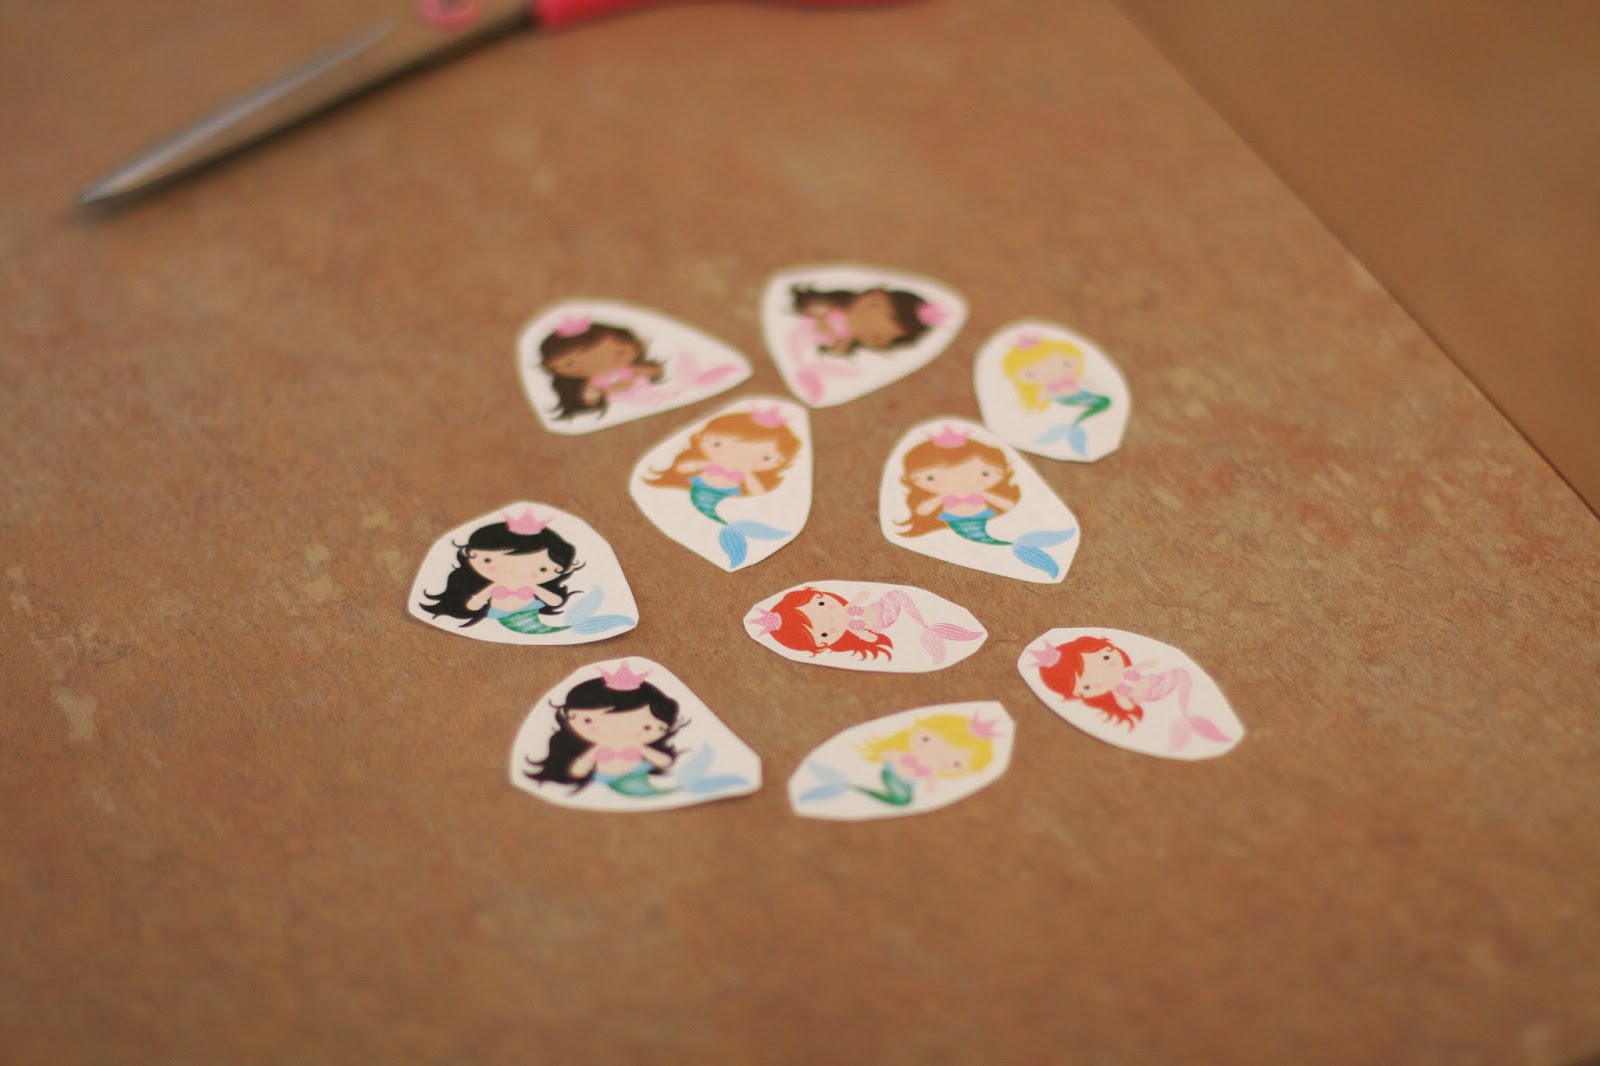
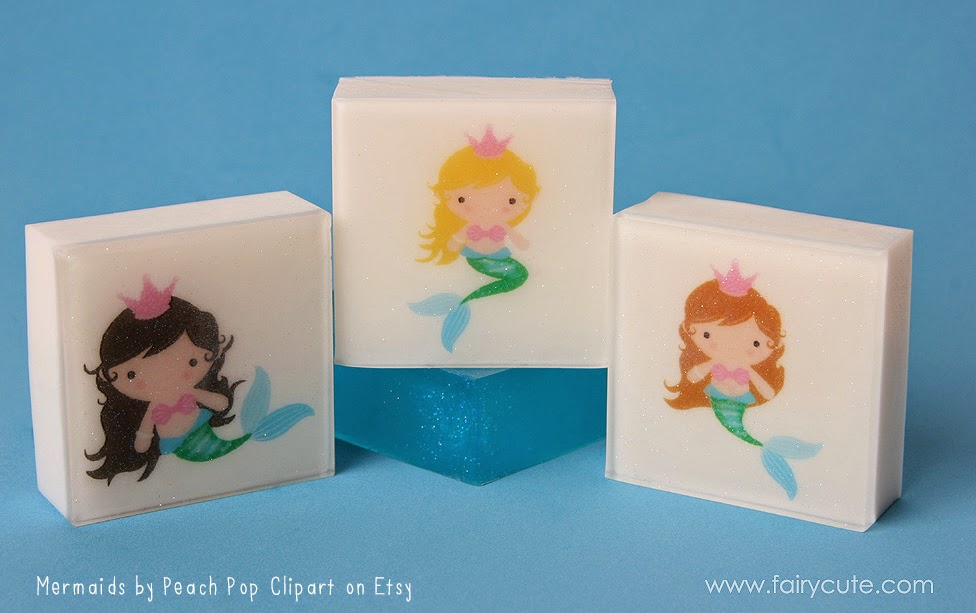
Before we get started, I have to give a shout out to Peach Pops Clipart on Etsy for the gorgeous mermaid clipart I use in this project. Their designs are so fun and cute!
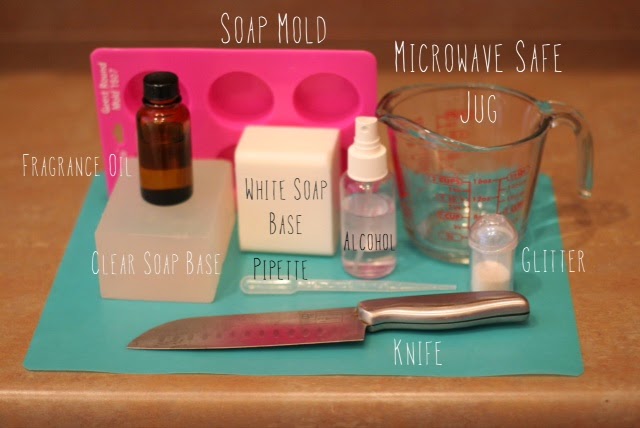
Get all of your materials ready first. This project is a little time sensitive in parts so you want to have everything at your finger tips.
I have cut out the little mermaids (printed on water soluble paper) to fit the size of the mold I'm going to use. I don't want the edges of the paper to go all the way to the edge of the mold. We want a nice "frame" around the edge of the paper so the soap seals the image in place.
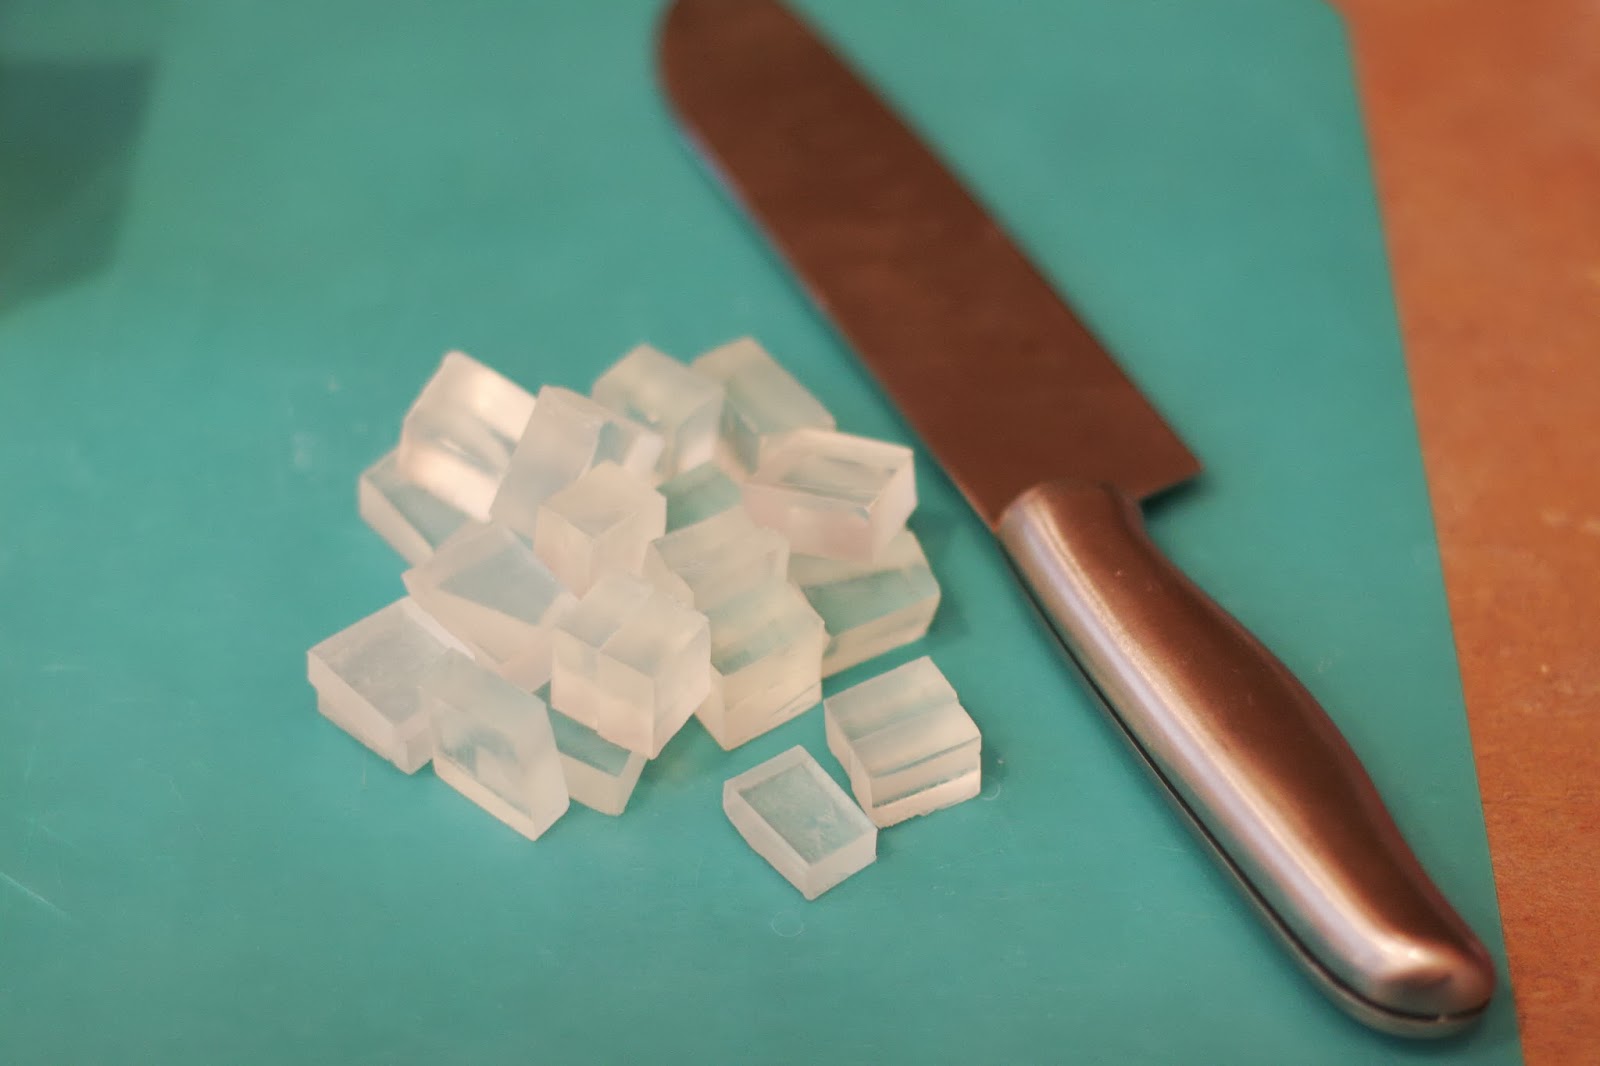
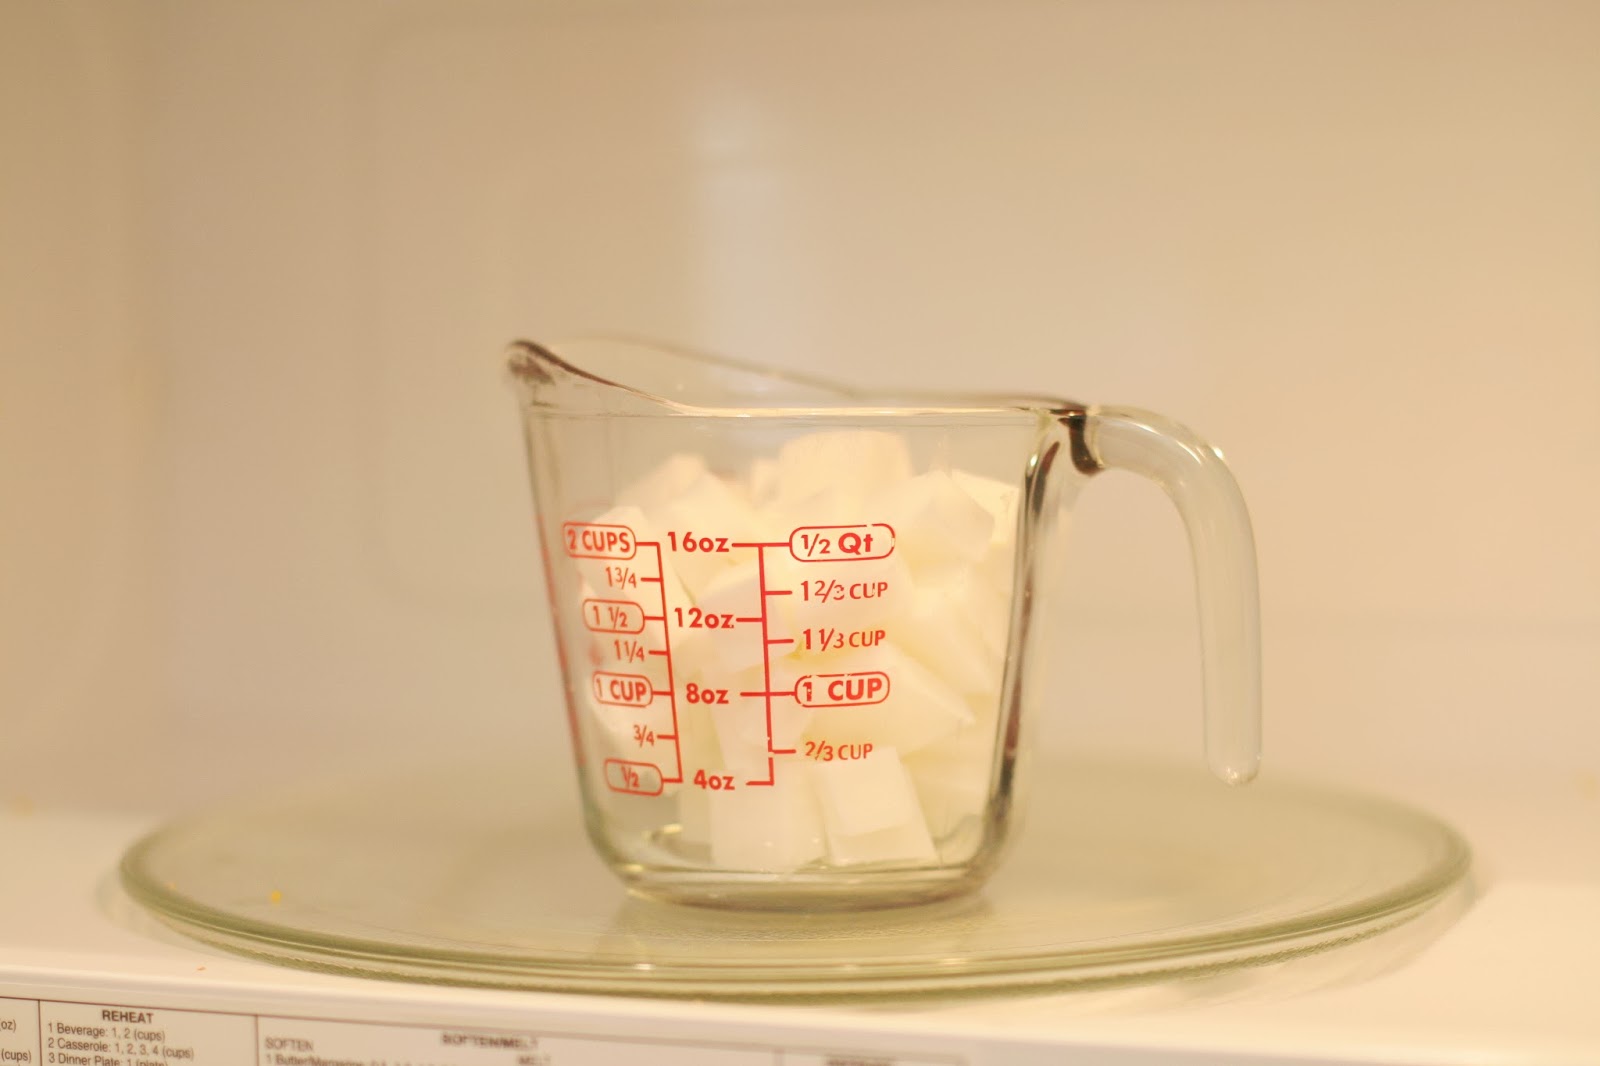
Cut up your clear soap base. I like to use small cubes...they melt faster.

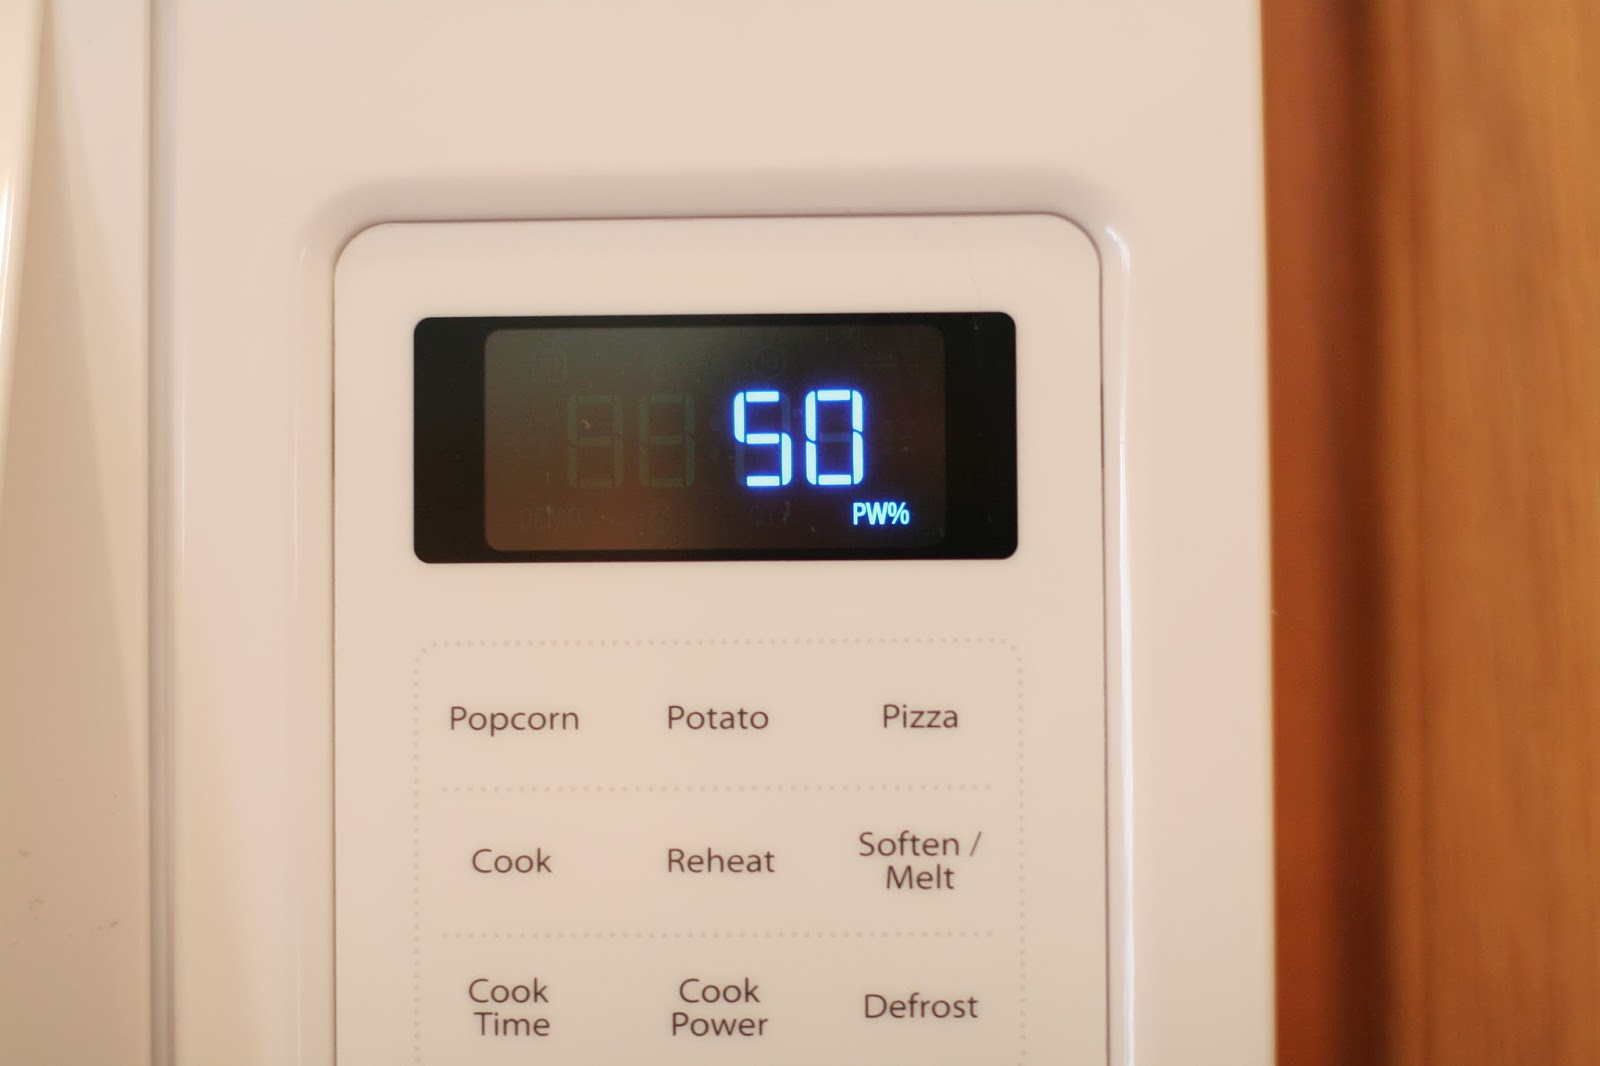
Important: use your 50% power setting on your microwave. It melts the soap more evenly and won't overheat it, but you still have to keep your eye on it. Melt in 15-30 second increments to start with - you'll get a feel for timing the more you practice.
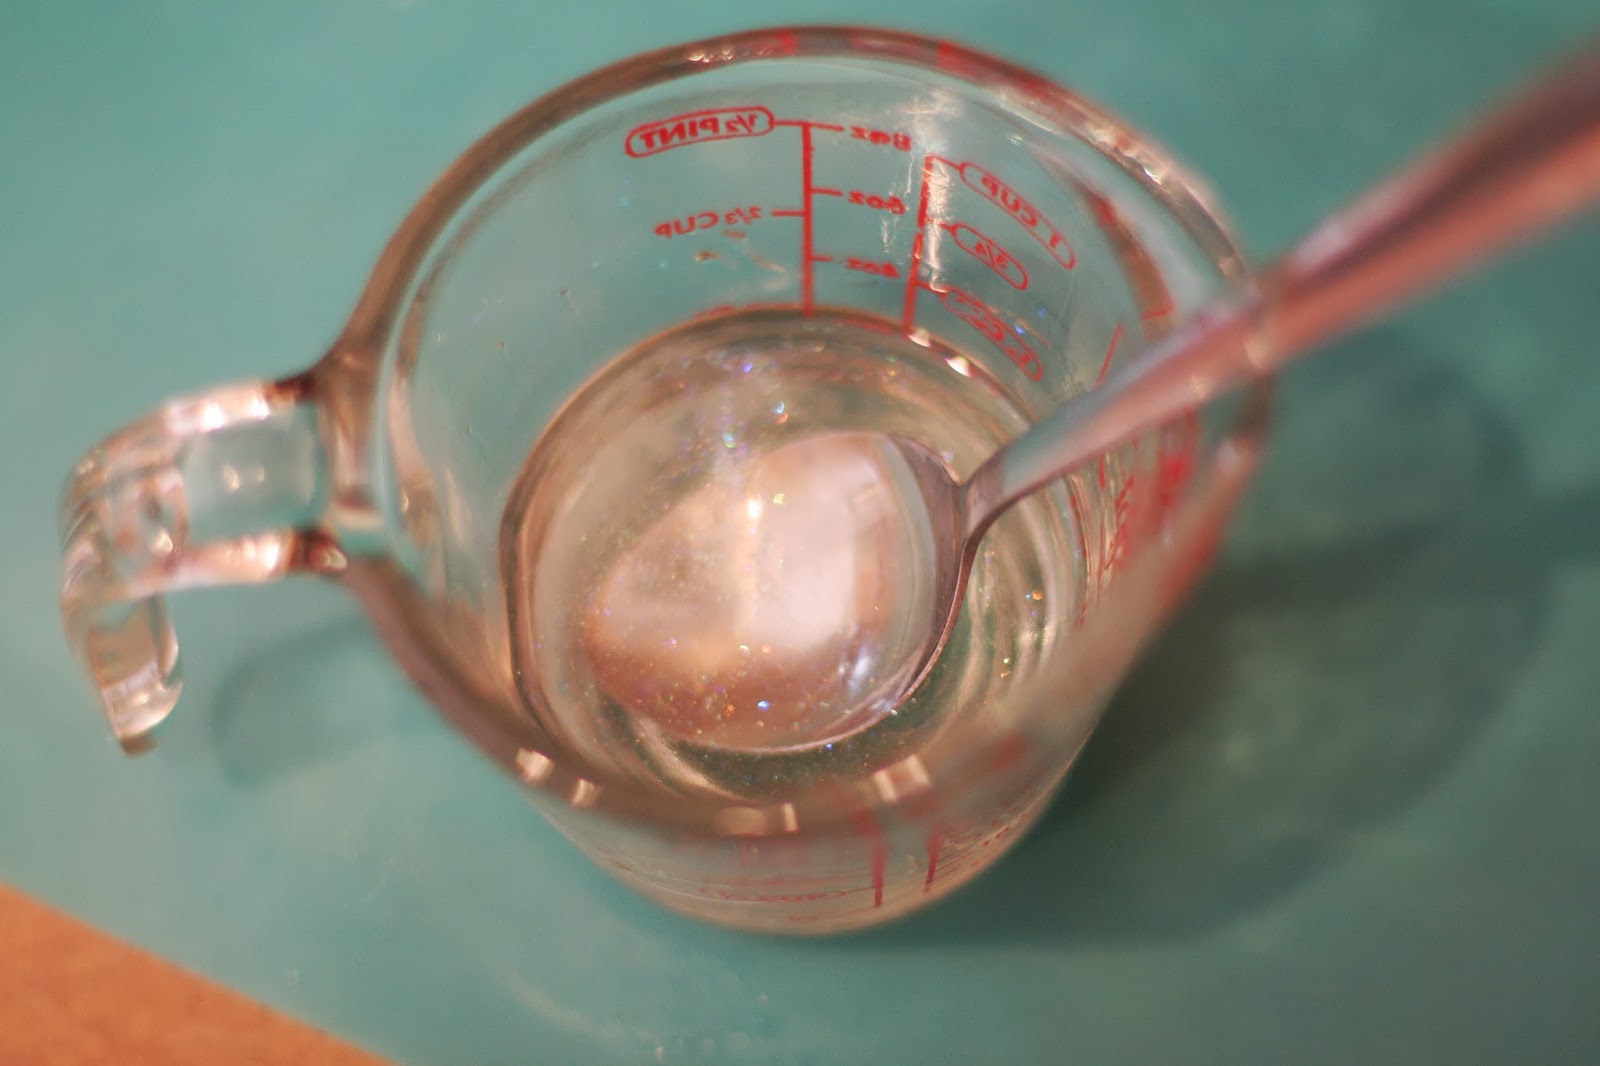
It's good to have some soap chunks that aren't completely melted with the rest of the soap. Just gently stir them in. It will regulate the heat a little as well. Don't stir too vigorously - you don't want to create air bubbles! Spritz with alcohol if you do get some bubbles. This will help them burst at the surface.
We're melted! I've added a pinch of glitter to this first batch of clear soap. I want there to be a cute little sparkle on the image. Use alcohol to incorporate the glitter into the liquid and stir through any clumps. It shouldn't clump if you haven't added too much glitter. Just a pinch. :) Stir gently...remember, no bubbles! We are not adding fragrance to this layer.
Pour an ever-so thin layer in the bottom of your molds. I spritz with alcohol to help even out the soap. You want the bottom to be covered but not thick. We just want a nice, clear layer on top of our image.

When the first layer is solid, you can add your image. Before you touch the paper to the soap...spritz, spritz, spritz the soap surface with alcohol. You want it to be pretty wet. Drop your image in. If it doesn't sit how you want it to, if you've spritzed enough alcohol, you should be able to move it around. Spritz it so there are no dry spots on the paper but don't let the paper start to buckle. It should be laying flat on the soap.

STOP: Some tutorials tell you to just add the next layer of white. Don't do this! Pour another very thin layer of soap onto the back of the image. This will seal the image in and prevent any weird layering that might happen with your white backing soap. Trust me on this.
Get your white soap ready! Small chunks.

Again, use 50% power and melt in 30 second bursts.

When the white soap is melted, you can add your fragrance oil. The amount will depend on how much soap you are using. You can use this handy dandy fragrance calculator at Brambleberry.com. P.S. Their fragrance oils are DIVINE, too!
Tip: If you're using a fragrance oil that has vanilla in it, you will need a vanilla stabilizer or your lovely white soap will go brown after a while. Not pretty...unless you wanted brown soap. :)
Now you're ready to pour the "back" of your soap. I don't fill mine totally to the top as I've overflowed far too many times. It gets messy and ugly and you waste soap. :) Spritz with alcohol to zap any bubbles that rise to the surface.

Now off you pop for a nice cup of tea while you wait for these babies to set. Leave them for a good hour or more (will depend on your mold size - bigger molds take longer, obviously.). When they are ready...pop them out, wrap in cling wrap or cello wrap and give to a friend. They will love you for it!
This tutorial is the basic process of making a layered soap with an embedded image. Let me know if you have questions - happy to help!